
If you keep sensitive files on your computer and do not want any other users to see them to preserve your privacy, then in this article you will read about the best ways to hide files on your computer securely without having to use paid programs.
What is the purpose of hiding files on the computer?
The main purpose of hiding files is to protect your files and maintain your privacy from intruders. Hiding files can also greatly help in preventing them from being stolen and keeping them in a safe place.
Also, hiding files is a good way to avoid deleting important files by mistake. Some people may resort to hiding to organize files more and show only important files, or vice versa.
Hide files on your computer the traditional way
First, we will review the traditional method of hiding files on the computer. The method is known to most Windows users, and it is through File Explorer.
1- Open the file explorer and go to the location of the files you want to hide.
2- After selecting the file you want to hide with the mouse pointer, press the right button, then a menu will appear.
3- Click on “Properties”, then a pop-up window will appear containing some settings and customizations. All you have to do now is select the Hidden box and then click OK.
Thus, we have hidden the “ Important !” file from the files.
Show files after hiding them in the traditional way
If you want to show the file after hiding it in this way, all you have to do is click on the “View” box from the top menu and select Show hidden files.
If you want to unhide the file and return it to the way it was, just reverse the hiding method. That is, right-click after selecting the file or item, then click on the “Properties” button, then deselect the hidden mark and click on the OK button.

Hide files via CMD
This method is not known to Windows users, through the CMD command prompt you will be able to hide files securely and it will be difficult to discover hidden files after that.
This method focuses on making the file you want to hide one of the system files, as the Windows system hides system files to prevent tampering with them and causing damage to the system.
If you want to use this method, follow these steps:
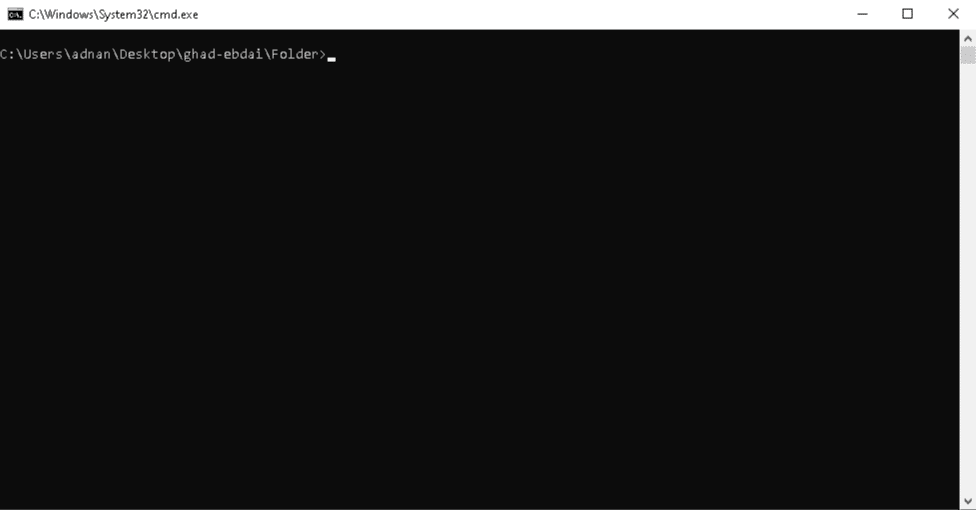
1- Through File Explorer, go to the location of the files you want to hide. At the top of the window, you will notice a path to the file you accessed, delete this path by selecting it with the mouse pointer and type cmd instead, then press Enter.
After that, a Command Prompt window will appear in the same path of the files you want to hide. If you want to make sure that you are in the correct path, type and the path will be printed so that you can preview it. cd
To hide items and make them system files, type the following command line:
attrib +h +s FileName
Instead of FileName, type the name of the file you want to hide or drag and drop it into the command prompt window. The letter “h” stands for Hidden and the letter “s” stands for System, which means that the file will be set to system and cannot be seen or modified by normal users.
Show hidden files via command prompt or CMD
There are two ways to show hidden files via the Command Prompt.
The first method :
The opposite of hiding, by opening the command prompt by going to the file explorer as we did when we hid the files. Then after that, we write the same code but this time we will replace the + sign with the – sign, i.e. we replace the plus sign with the minus sign.
attrib -h -s FileName
This will make the file appear again normally and will be removed from the “System Files” category.
The second method :
This method may be a bit sensitive because through it we will show all hidden system files. Be careful when showing system files because tampering with them or deleting them by mistake may cause damage to your device or operating system.
To show hidden system files, follow these steps:
1- In the file explorer from the top menu, click on “View”, then go to “Options” and click on “Change folder and search options”.
2- A pop-up window called “Folder Options” will appear. Choose “View” from the pop-up window menu, then deselect the option (Hide protected operating system files) and then click OK.
Hide files on a computer inside a picture
In this method,d we will hide the file inside an image, but first, we need some things before starting to implement the process.
1- Bring the image you want to merge files with.
2- Click the file you want to hide inside the image.
To compress the file, right-click on it and select Send to Compressed (Zipped) Folder.
3- Open the command prompt or CMD in the same path where the compressed file and the image in which you want to hide the file are located.
4- Inside the command window, type the following command line:
copy /B "imag Name".png + "Folder Name".zip "NewImage Name".png
Through this command line, you will be able to copy the files in the zip file to the image. At “imag Name” type the name of the image with its extension, for example (png, jpg). Then type the plus sign “+” and then type the name of the zip file with the extension ZIP.
Also, “NewImage Name” means the new name of the image, where after pressing Enter, the compressed file will be merged with the image and generated again in a separate image.
Show hidden files on a computer inside an image
In order to show or access hidden files inside an image, you must use an unzip program such as WinRAR.
After installing the decompression program, right-click on the image, then “Open with” and choose WinRAR from the list.
The program window will appear, and you will see the files that you have hidden inside the image. If you want to extract the files from the image, click on the Extract button from the top menu and select the path where you want to put the files inside.
Hide files by changing the icon and deleting the name
This method is a bit easy and very few users know about it. This method depends on hiding the file icon and deleting the file name completely so that it cannot be seen at all.
To change the folder icon after you have collected the files you want to hide in it, right-click on the folder, then click on “Properties”. The Properties pop-up window will appear, from the top menu of the pop-up window select “Customize” and then click on “Change Icon”.
After clicking on “Change Icon” you will see a list of all the icons that you can use, when you scroll to the left a little you will find a space, but this space is not empty, these are “nothing” icons. Select the icon and click OK and the icon will become hidden.
Now after hiding the icon we will hide the folder name, to do that select the folder whose name you want to hide, then click on “Change Name” After that delete the name, then continue pressing the Alt button on the keyboard and during that type 0160 with the cursor selected in the writing field, then press Enter.

Thus, we have hidden the folder icon and the name as well.
Show hidden files by changing the icon and deleting the name
All you have to do is select the folder that you have hidden by changing the icon and deleting the name, then right-click and go to “Properties” then “Customize” and then choose a visible icon or you can restore the original icon.
As for the name of the hidden folder, select the file, then right-click, then “Change Name”, type the name you want, then save.
We hope you have benefited from the explanation. That was all about hiding files securely on your computer. You can also check out Show Hidden Files. We would be happy to write your opinion in the comments.